3 min.
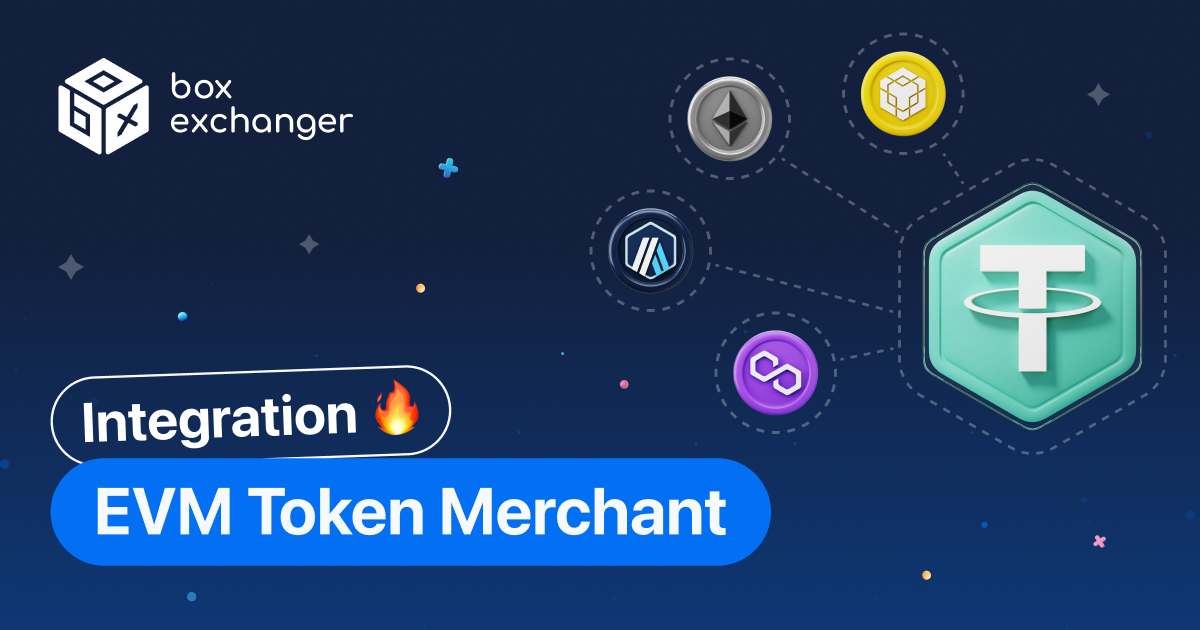
EVM Token Merchant integration
Added: January 11, 2025

Dear partners!
We are pleased to announce the integration of EVM Token Merchant, a convenient solution for accepting cryptocurrencies.
Merchant capabilities:
- Accepting tokens from EVM-compatible networks: Ethereum, BSC, Polygon, Arbitrum and others.
- Payment processing through our own nodes — without third-party services.
- Full control over funds in wallets without intermediaries.
- Support for AML checks for secure transactions.
- Automatic collection of funds from proxy addresses to the master address of your cold or hot wallet.
Detailed setup instructions:
- In the script's admin panel, go to the "Merchant and API" page, and then in the "Merchant system" section, click on the settings icon in the "EVM Token" merchant block.
- On the merchant settings page, in the "RPC node URL" field, specify the link to the node and click "Save".
- In the "Synced blocks" field, specify 0 to pull up the last mined block in the blockchain, or specify the block number from which synchronization will begin and click "Save".
- For the "Payment with QR-code?" field, select "Yes" to display a QR code with the deposit address at the application payment step, or "No" to not display the QR code, and click "Save".
- For the “Collecting tokens Mode” field, select the appropriate method for collecting tokens from the service address to the master address and click “Save”. To select the collection method that suits you, see the “Collecting funds” section.
- In the "Wait confirms blocks" field, specify the required number of blocks to confirm the transaction. We recommend setting 12>. Finally, click "Save".
- In the "Limit blocks per request" field, specify the number of blocks that will be parsed per API request. It is recommended to leave 50.
- In the "Re-use address after" field, specify how many days after which the proxy address will be reused for another application. If you have selected the "Transfer (for one-time address)" collection method for the "Collecting tokens Mode" field, we recommend leaving the value at 36500 so that the proxy address is not reused for other applications. If you have selected the "Allow & TransferFrom (for re-usable address)" collection method for the "Collecting tokens Mode" field, set the number of days after which the proxy address will be reused for another application. Finally, click "Save".
- In the "Gas price (in gwei) or auto" field, specify:
- The value "Auto" (recommended) is for the gas price to be calculated automatically depending on the network load;
- The specific gas price value that is convenient for you. However, it is important to note that at a low gas price, funds may not be collected from the proxy address to the master address.
At the end, click "Save".
- In the "Contract address" field, enter the contract address of the token you want to accept through the merchant and click "Save".
- In the "Contract ABI" field, specify the ABI of the token that you want to accept through the merchant and click "Save".
- In the "Collect token when amount greater than or equal" field, specify the minimum amount of tokens to collect from the proxy address to the master address and click "Save". To collect funds for any deposit to the proxy address, specify the value 0 in the field.
- In the "Master address" field, specify the wallet address to which funds will be collected from proxy addresses and click "Save".
- In the "PrivateKey service account" field, specify the private key from the wallet. We recommend generating the address and key yourself. However, for testing, you can use our generator: https://www.boxexchanger.net/gen-trx.
Thank you for being with us!
Sincerely, The BoxExchanger Team
Also read

November 29, 2025
Status Page launch — a new update for the platform
We are pleased to announce that we have launched the official BoxExchanger service status page — Status Page. Now y...

November 14, 2025
New system updates
We are pleased to announce the latest improvements and updates to our systems: 1. Security updates and back-end o...

November 5, 2025
New ProspectPay integration
We’re excited to announce a new integration in the BoxExchanger ecosystem — ProspectPay! This solution is now avail...